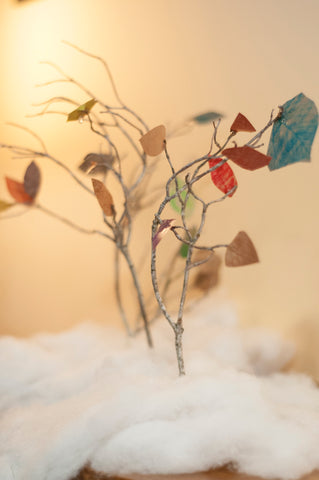
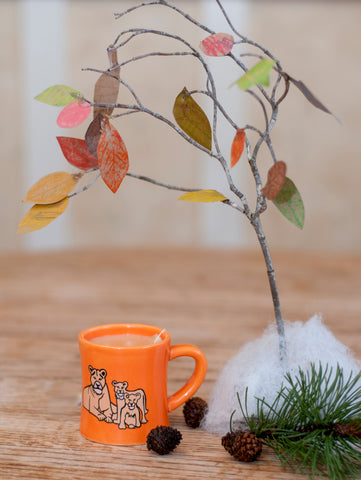
This week's craft idea spawned from a few images I had seen of miniature trees decorated with construction paper leaves. We added a new spin on the leaves, which created a charming result. I only wish I had several more to make a fall "forest" centerpiece.

Gather Materials for Fall Tree Leaves
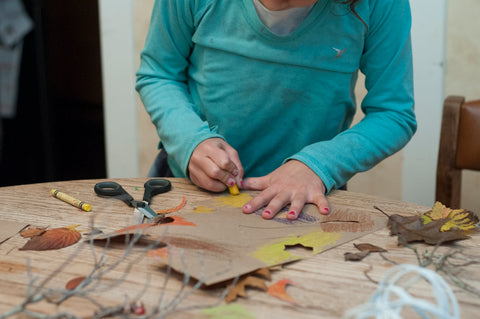
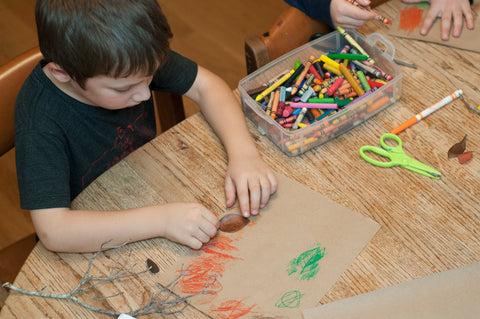
This activity worked great for an after school 1-hour craft. At first, none of the kids wanted to do it, but once I started the leaf rubbing, I had them all captivated. Who doesn't love leaf rubbing?
- Find a dead branch outside that can be broken into little "trees"
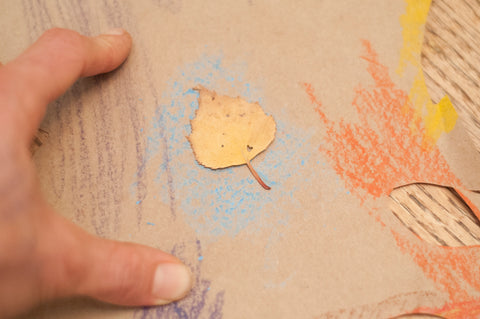
- Find about 6 small leaves on trees or bushes outside that have fallen to the ground - focus on ones that are less than 1" long and preferably quite small with visible veins.
- 1 sheet of paper per kid (we used brown Kraft paper from grocery bags)
- Box of crayons w/o the paper on them
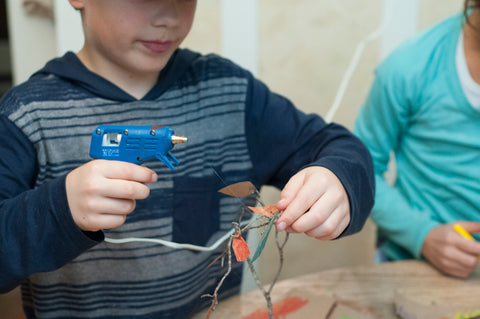
- Gluegun
- Scrap pieces of wood, small jar with rocks, or something that can weight the tree down.
Directions:
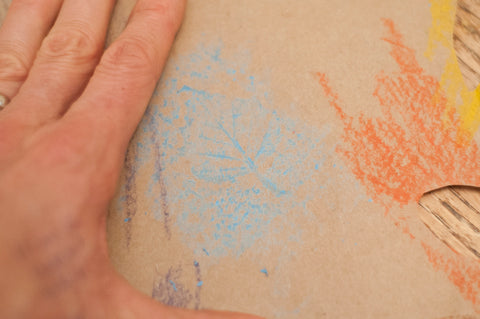
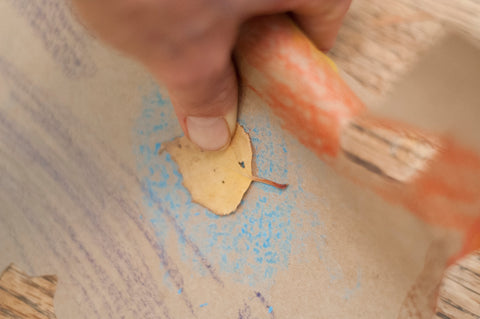
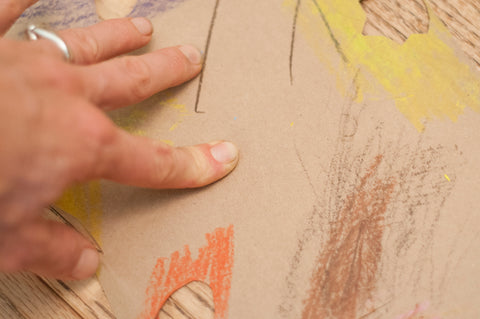
Model how to do a leaf rubbing in a corner of the paper. Lay the leaf under the paper then rub the side of a crayon over the top. Soft crayons don't work as well for this, since you have to push with some force. The trick though, is to DOUBLE SIDE your leaf rubbing. This part is a little tricky for some kids because you have to flip the paper over with the leaf in the same exact spot.
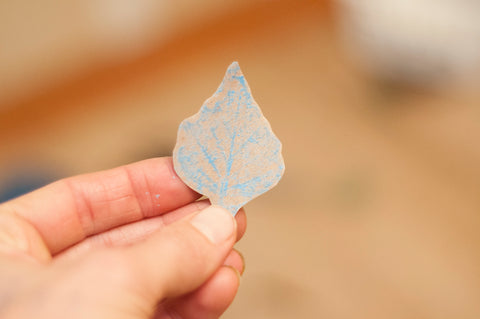
Kids only have to make about 7 leaves and they have enough to fill out their tree. Once the leaf rubbings are done, help kids use the glue to stick them around the dry branches.

I used an electric drill to put a hole in the scrap wood that was the same diameter as the tree branch. Then we glued the base into the hole so the tree would stand up. We did this before the kids started gluing on leaves, but you can prop up your tree with whatever materials you might have handy.

Leave a comment