When we have a play date with other 5 year old kids, I like to think of at least one project we can work on together. With Thanksgiving coming up, we made these fun wreaths out of tissue paper.

I adapted the project from several options I found online with basic search.
This version is a 2-part project where we made the watercolor "THANKFUL" first and then started in on the glue and tissue paper.
Part 1: Watercolor Pencil "THANKFUL" Sign
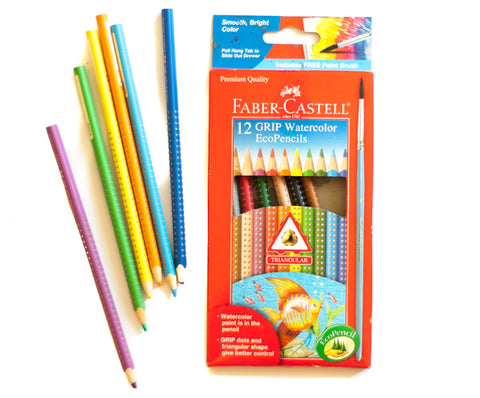
If you've never tried these pencils before, they're a good investment because they last a long time and kids can get some great color and blending out of them. Secondly, they're easier to manage than regular water colors because there is no paint tray to grind the brush into.
Materials:
- Watercolor pencils
- Thick watercolor paper
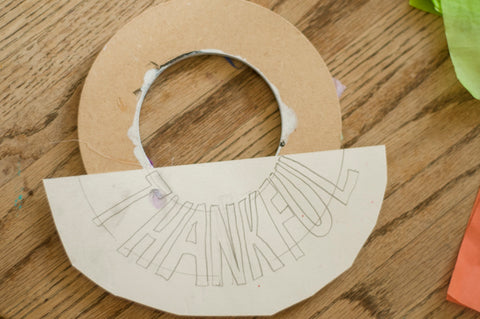
- Wreath backing (wood, cardboard, paper plate with hole cut in center)
- Paintbrushes
- Water
Start with your wreath backing. I happened to have a couple wooden rings from past projects, but a paper plate or piece of cardboard with a doughnut shape will work just as well.
Cut out the shape and mark where the TOP will be.
Trace the curve of the circle and in pencil, write big BUBBLE LETTERS for the word you want at the bottom.
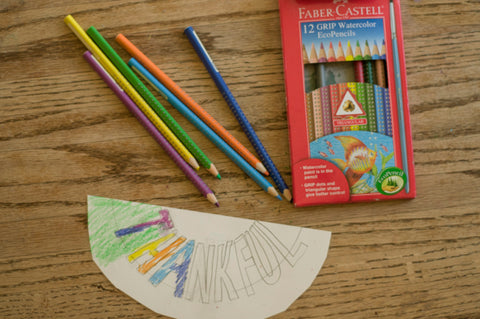
Bring out the pencils and let the kids start by coloring in the letters. I start teaching basic color theory early and encourage kids to use all "warm" or all "cool" colors within a single letter. This keeps the watercolor blending from always turning brown.
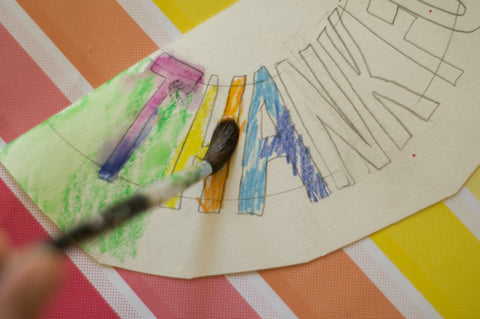
Fill up a BittyMug™ or cup with water and hand out the brushes. I like to keep a towel on hand for the kids to wipe excess water off their brushes, to keep the colors brighter.

Part II - Gluing Tissue Paper Flowers
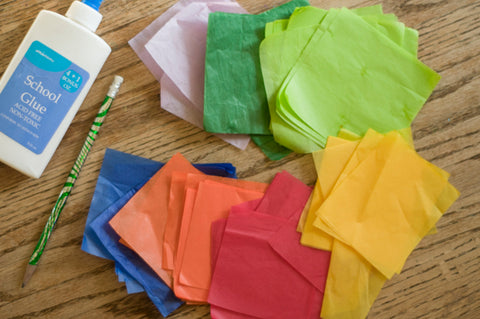
Materials:
- Colorful tissue paper cut into 3" squares
- White Glue (did you know you can refill by making your own?)
- Pen/Pencil (for pushing down the tissue paper w/o getting glue on your fingers)
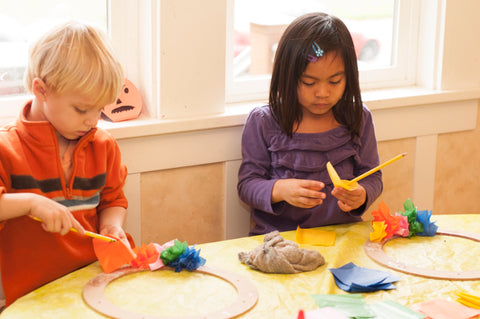
While you let the sign dry, get out the glue, pen/pencil and squares of tissue paper. Working on 3-4" sections at a time, cover part of the ring with glue.
Starting from the top you marked at the beginning, have each kid pick a color of tissue paper and they press the center down with the back of the pen and pull the tissue paper upward creating a "flower" effect. For each color, they should do this with at least 3 squares of the same color right next to each other to get brighter color.
Be sure to leave room for the THANKFUL SIGN and a hole for a string or picture hanger.
With a dry THANKFUL sign, go over all the bubble letters with a black marker to highlight the letters and cut a nice border around the outside.
Once the wreath is full of flowers around the top, glue on the THANKFUL sign and cover the edges with one more flower to hide them.
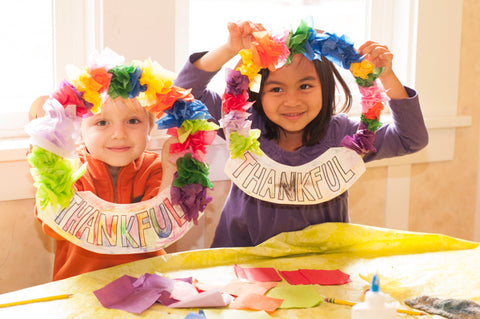
Hang up your project in a doorway or wall for everyone to see!
 Heather is the founder of Wildini™, a zero waste company dedicated to supporting animal conservation through eco-friendly products for kids. "As a kid I always wanted to help save wild animals and Wildini is a vehicle to living that dream." says Heather. Heather writes about minimizing waste, animal conservation successes and clever products at
Leave a comment